Quality Inspection
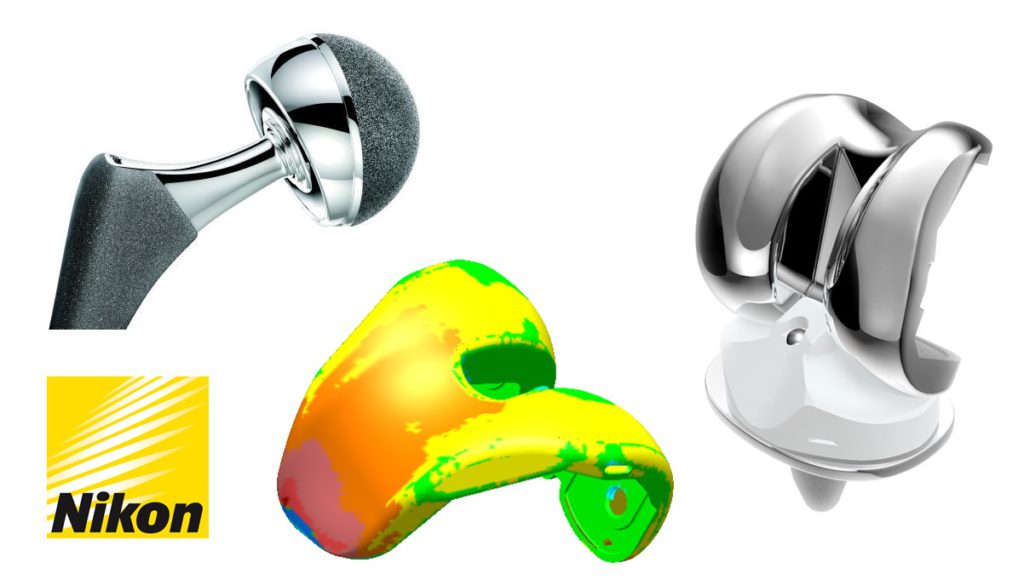
3D Laser scanning inspection and analysis is a new and powerful tool for design vs. manufactured comparison. Re-tec will use software that allows the comparison of ‘as manufactured data’ (the point cloud) to ‘as designed data’, (the CAD file) as well as part to part analysis. Using this powerful technique Re-tec can be used to introduce an inspection process which will ensure component quality is monitored and improved.
The inspection process is described below:
1. Import of nominal and scanned data including CATIA, IGES, STEP,VDA and DWG can be used for this purpose.
2. Preparation of nominal and scanned data
In this second step the two data sets are prepared for registration and analysis.
3. Registration
A variety of methods can be used for alignment, prior to analysis, including feature based alignment, RPS alignment, constrained best fit and 6 point alignment.
4. Apply analysis requirements including 3D global surface deviation, section deviations, drawing dimensions.
5. Deliver the analysis results in a tailored report
A wide variety of comparison tools can be used for measurement and analysis including:
- Full part to nominal comparison
- Continuous or discrete tolerance settings
- Point to point measurement
- Wall thickness inspection
- Surface defect analysis
- Batch study analysis

As well as surface deviation we can complete all GD & T requirements and can also complete CMM inspection reports. As a result, combined with laser scanning data Re-tec can complete a detailed analysis of any component right down to the smallest detail.
If you have any projects which we can help with, please contact us, or complete a request for quotation form and we will contact you shortly after.
